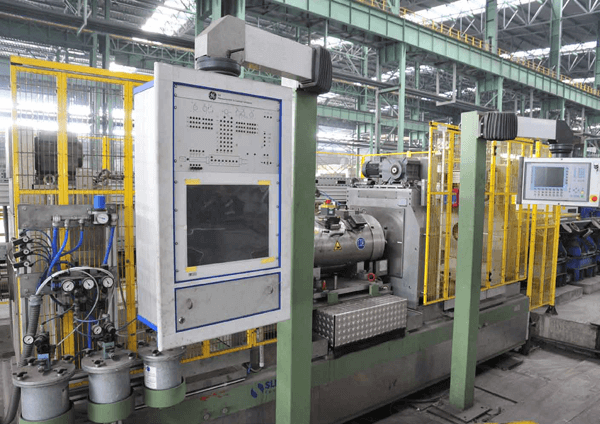
German GE Ultrasonic testing

Defect detection capability:
Outsidediameter:Ø 48mm~177.8mm
Steeltube wall thickness:3.18~25mm
Longitudinaldefects: 12.5mm long artificial groove, groove depth of 5% wall thickness, 0.2mm(min) or minimum of 3 times the surfaceroughness, groove width 0.5mm; when the wall thickness is greater than about4mm, can distinguish the internal and external wall longitudinal defects.
Lateraldefects: 25mm long artificial groove, groove depth of 5% wall thickness,minimum 0.2mm or minimum of 3 times the surface roughness, groove width 0.5mm;when the wall thickness is greater than about 8mm, can distinguish the internaland external wall defects. Wall thickness measurement: 50mm long ring groove,the accuracy of each point of measurement 0.03mm.
Delaminationdefect: 50 mm (L) x mm (W) x of 30% WT (distance surface of at least 2mm)
Systemreliability and stability:
Coupling:water coupling. The steel pipe directly passes through the rotary cavity core,and the pipe surface does not contact with the probe, and the friction is notgenerated. Coupling stable and effective removal of tube surface air.
Ultrasonicpulse density: the repetition rate of each channel 20KHz is used to ensure thepulse density of the whole high-speed tube detection.
false negative rate :0
false positive rate:≤ 1%
SNR:≥10dB
Circumferentialsensitivity difference:≤3 dB
Thesensitivity of the system after running 4H:≤2 dB
Beingable to carry out sorting and marking defects and wall thickness signals, andprovide and print test reports. It provides favorable conditions for thequality control of steel pipe. Timely and accurately tracking the quality ofeach steel pipe inspection.


